Getting Started with Experience Builder: How to Create Your First Page
We are excited to kick off a new series of posts that focuses on Salesforce Experience Builder for beginners. Whether you are new to the platform or have some experience, this series by Advanced Communities will guide you through the fundamentals of the Salesforce Experience Cloud. Besides, we show you the ropes of its great tool Experience Builder, and provide insights to help you leverage its many features.
What is Experience Builder?
At its core, Experience Builder is a powerful tool that enables you to design and develop your own custom site on Experience Cloud (formerly known as Salesforce Community Cloud) without requiring any coding knowledge.
You don’t need to be an experienced programmer or designer to create a site that suits your business needs perfectly. Experience Builder is a site constructor integrated into the Salesforce Experience Cloud DXP platform that allows you to easily rearrange components on a page and customize the design to your liking.
In this series, we’ll cover everything from basic functionality to advanced features, giving you the knowledge and skills needed to create a dynamic and engaging website for your organization. So, let’s dive in and explore the limitless possibilities of Salesforce Experience Builder!
Advantages of Using Salesforce Experience Builder
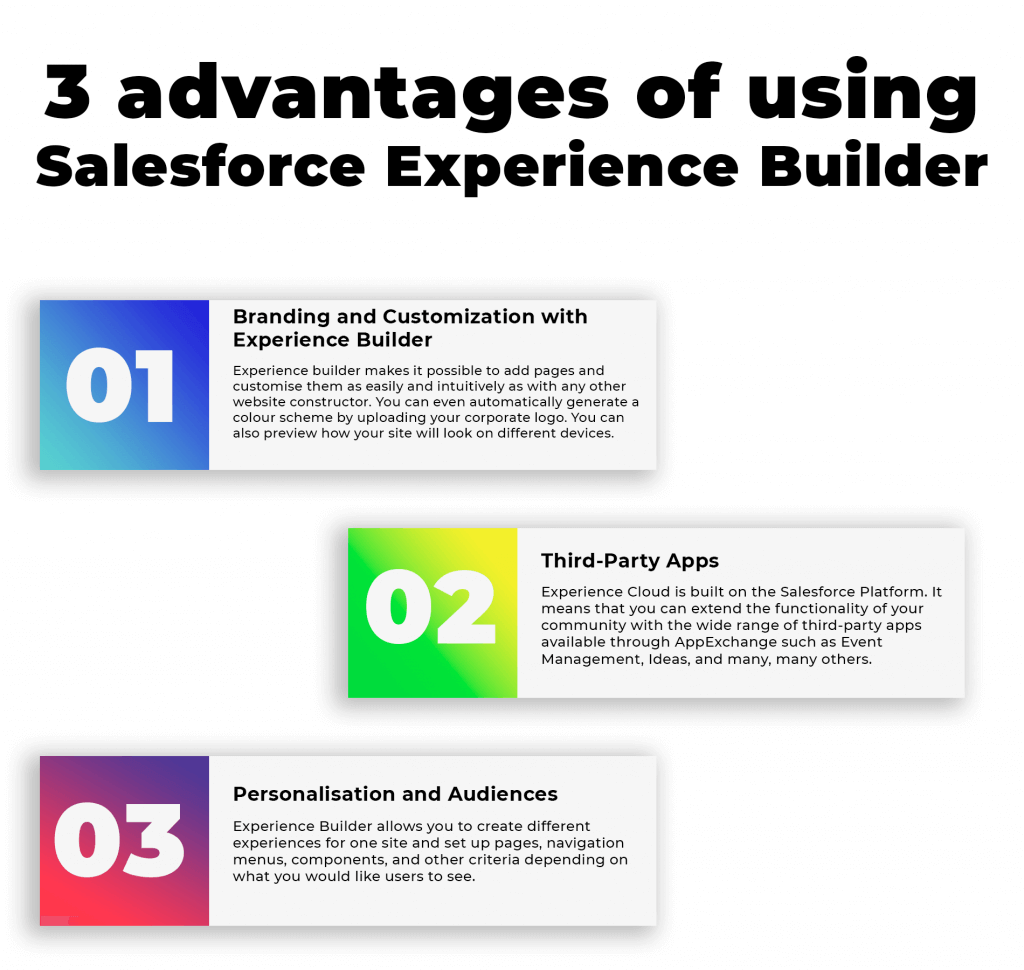
Salesforce Experience Builder delivers personalized experiences all over. Just look at the advantages coming along:
- Flexible customization – you can add pages and customize them the way you like to an Experience Builder site. No coding is needed! Use the drag-and-drop logic, generate a color scheme for your pages by uploading your company logo, and preview your site on various devices.
- Third-party apps – any Experience Builder template you choose for your site can support some additional functionality for your community. For example, you can comb through AppExchange and consider apps for event/knowledge/idea management and many others.
- Personalization and audiences – the Salesforce platform lets you create various experiences for one site by setting up page variations. This way, different audiences can see a different theme layout, Lightning components, and other elements. Everything will depend on the content you want your audiences to deal with.

2 Types of Experience Builder Site Pages
Before creating a new page using Experience Builder, it’s important to understand the different types of pages available within the platform. In Experience Builder, all pages are displayed in the Pages menu and fall under two main categories: object pages and standard pages.
On the one hand, Object pages are specifically designed to display data from Salesforce objects and come in three different types: list, detail, and related list pages. These pages are grouped by their respective object titles, making it easy to navigate and manage content.
On the other hand, Standard pages are designed to display everything else and provide a more customizable option for creating pages. Whether you want to create a landing page, a contact form, or a blog, standard pages give you the flexibility to design and create pages that suit your specific needs.
Understanding the difference between Object pages and Standard pages will help you choose the right type of page for your content and ensure that your pages are organized and easily accessible within Experience Builder.
Building Sites Without Code: The Power of Experience Builder in the Salesforce Experience Cloud

Creating a Page on the Salesforce Experience Cloud Builder
Creating your first page with Salesforce Experience Builder is a straightforward process that can be accomplished in just a few steps. Here’s what you need to do:
- Go to the Pages menu (1) at the top of the page and click on “New page” at the bottom of the list of pages.
- Choose the type of page you want to create: standard or object.
Note! For standard pages, you can select a pre-configured or blank layout, while object pages are specifically designed to display data from Salesforce objects on the Experience Site. Once you select an object page, Experience Builder will automatically create a List, Detail, and Related List page for that object.
- Select the layout that best suits your needs, whether it’s a pre-built layout or a custom one that you create yourself.
For Standard pages, it is possible to select the layout while you are creating the page or change it later.
For Object pages, however, you can change the layout only after the pages have been created.
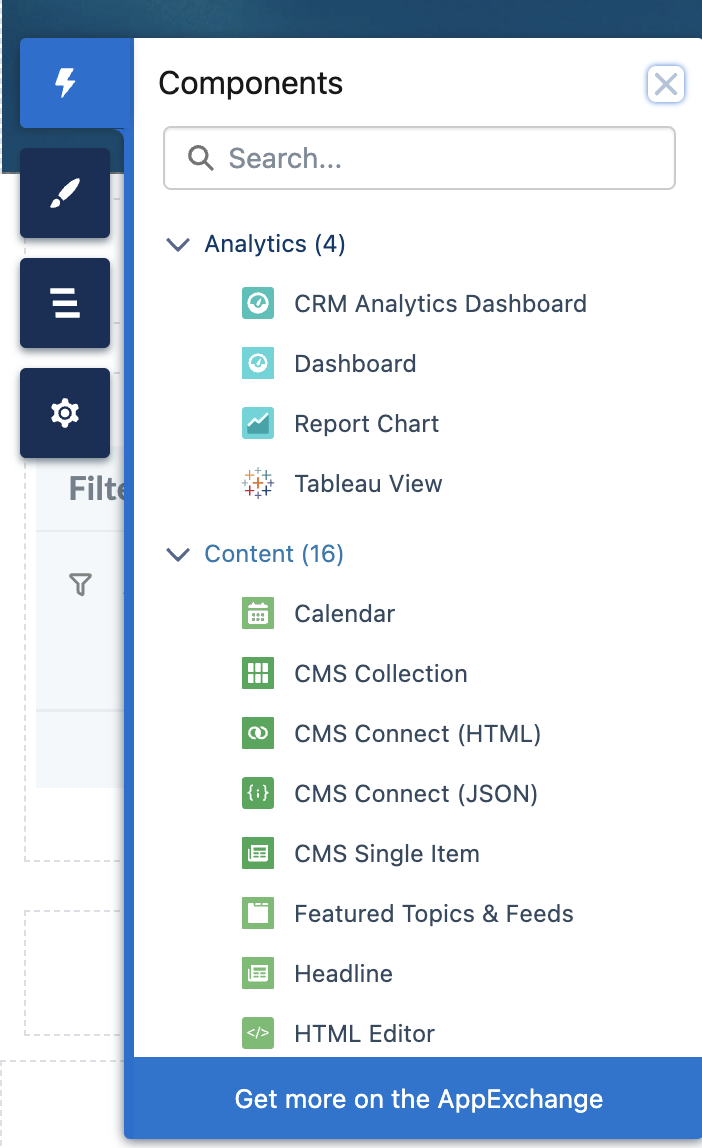
- Drag and drop the components you need onto the page to display the information you want. You can choose from a wide variety of standard and custom components, which are conveniently grouped by topic on the Components tab.

Here is an example with the Rich Text Editor component. You can add text, images, video, or links:
- If you need additional components, you can find them on the AppExchange. Simply click on the “Get more on the AppExchange” button at the bottom of the Components menu to browse the Component store for extensions that meet your needs.
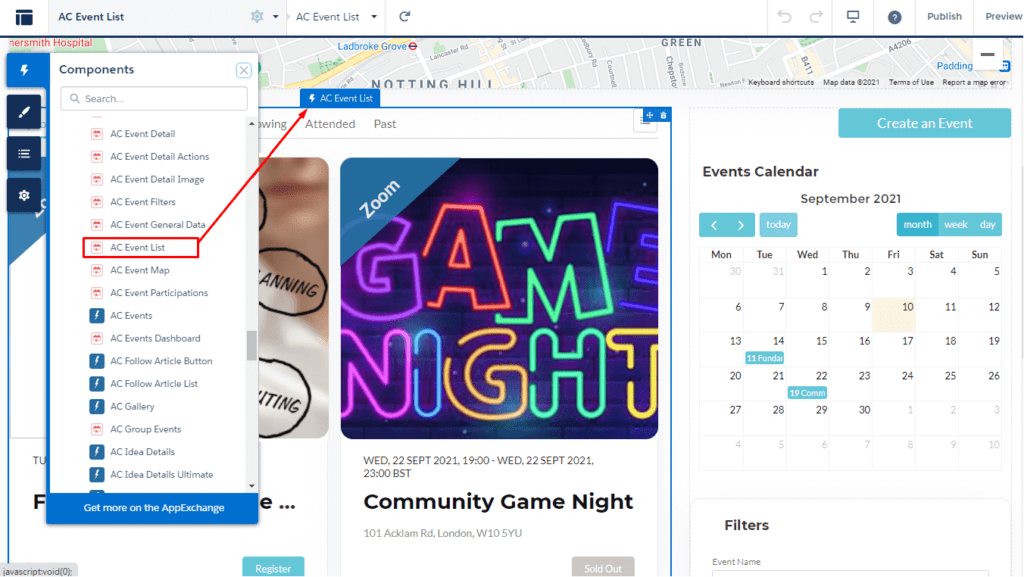
For example, say, you want to add event management functionality to your page. You can easily drag and drop components from the AC Events Enterprise app onto your page, giving you access to a comprehensive suite of features like online and offline event creation, package management, speaker management, and integration with Google Maps, Zoom, Stripe, and your Google Calendar.
AC Events Enterprise
See product details- Choose the component from the components list and drag-and-drop it to the page:

With Salesforce Experience Cloud Builder, you can create custom online spaces for a variety of business processes without any coding required. Follow us on social media to stay up to date on our next post about Experience Cloud and Experience Builder!
Need Help with Your Salesforce Experience Cloud Site?
If you’re encountering any difficulties while creating pelages with Experience Builder or installing and configuring AppExchange applications on your Salesforce Experience Cloud site, it’s advisable to seek assistance from professionals.
Advanced Communities is a partner that offers both ISV and SI services and has extensive experience in developing and configuring Experience Cloud sites and AppExchange applications for businesses of various industries and sizes. Our team is proficient in all aspects of Experience Cloud and AppExchange and can provide effective solutions for your Experience Cloud needs.
In addition, we provide different Salesforce-native solutions to improve the functionality of your Experience Cloud sites to meet your specific business requirements. Whether you’re looking for a powerful ideas management solution, Salesforce knowledge management tool, or member management software for your Salesforce PRM, support portal, or membership portal, we’re here to help you with all your Salesforce Experience Cloud needs. So do not hesitate and drop us a line!
Subscribe to our Newsletter
Receive regular updates on our latest blog posts, news, and exclusive content!
Q&A
1. How to Create a New Page in Experience Builder Salesforce?
It’s easy! Log in to your Salesforce org –> Setup –> Digital Experiences –> All Sites –> Your site. After that, go to Builder –> Pages –> New Page. From here, you choose whether to build a Standard page or an Object one.
2. How do I Switch Pages in Experience Builder?
It can be done in a few clicks. In the Navigation menu at the bottom of the Builder window, select a page in your experience.


