How to Set Up Navigation Menu Variations and Tile Menu in Salesforce Experience Cloud Sites

If you’re looking to optimize the navigation menu and tile menu components for your Salesforce Experience Cloud site, you’ve come to the right place. In this article, we’ll guide you through the process of setting up navigation menu variations and tile menus to enhance the user experience of your online community. With the help of our step-by-step instructions, you’ll be able to configure these components to your exact specifications, making it easier for your users to navigate your site and find the information they need. Whether you’re new to Salesforce Experience Cloud or an experienced user, this guide is designed to help you make the most of your site’s navigation menu and tile menu.

How to Create Navigation Menu Variations in Salesforce Experience Cloud Sites

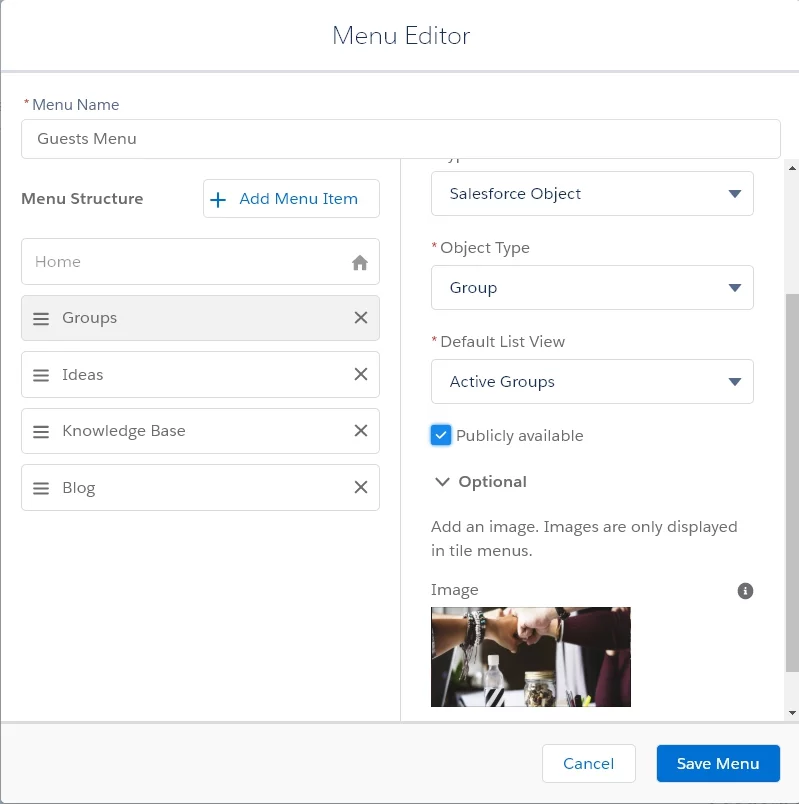
By incorporating the Navigation Menu component into your Salesforce Experience Cloud website, you can expand the scope of your navigation beyond conventional topics. This component allows you to include a diverse range of items in your navigation menu, such as Salesforce objects, topics, pages within your site, external URLs, and menu labels. Furthermore, you can use menu labels as primary categories to organize and nest other menu items underneath them.

The days of a single Navigation Menu are in the past.

Now you can create multiple navigation menus and use them in any navigation menu and tile menu components.
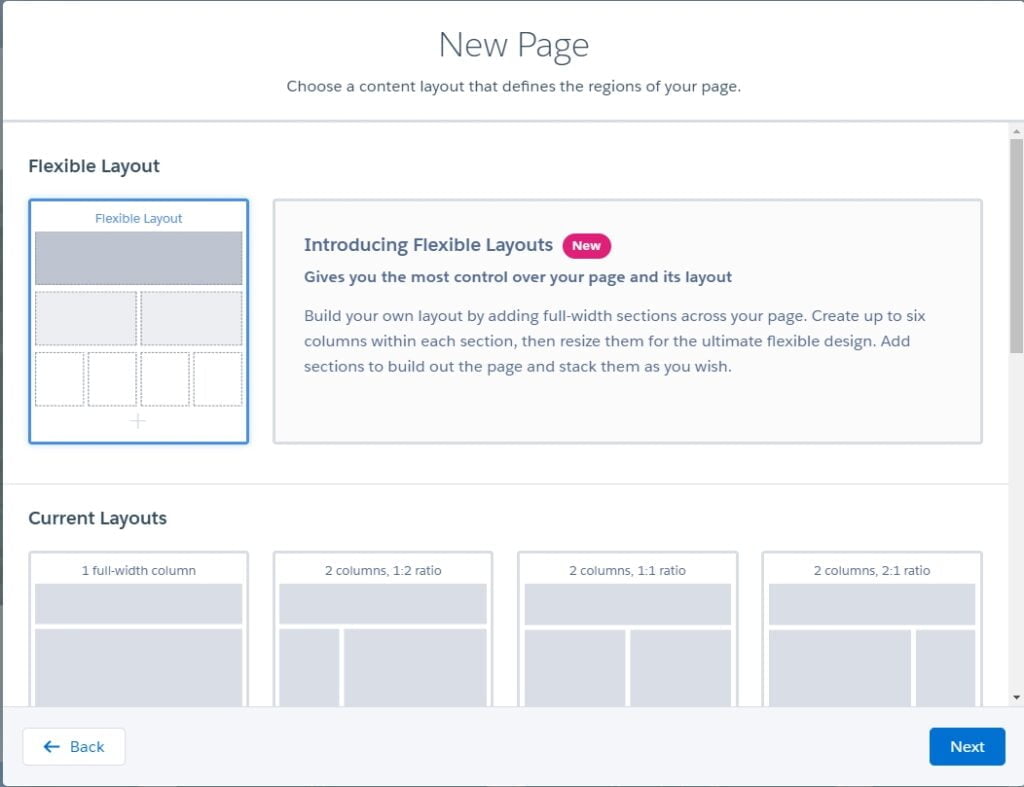
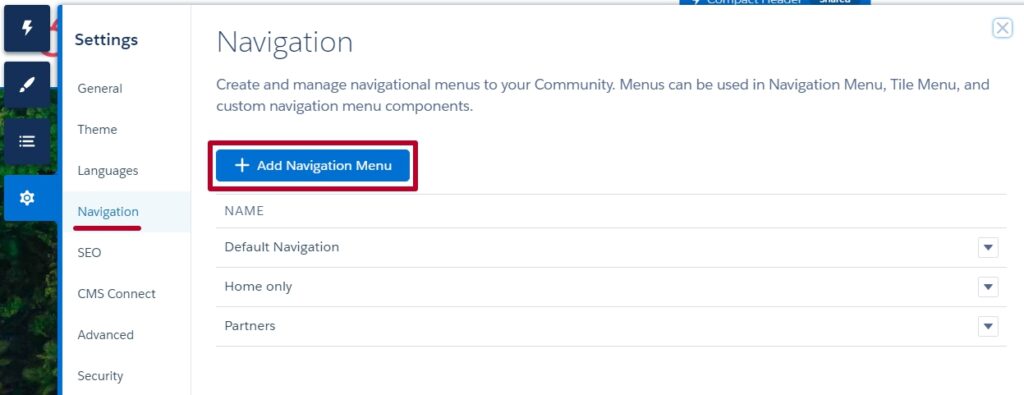
Create a Navigation Menu variation in Setting – Navigation – + Add Navigation Menu.

Create a Navigation Menu variation in Setting

Add a set of appropriate pages and also upload unique images for each page.

menu editor

You can even use different navigation menus on different page variations by creating separate theme layouts for the page variation.

Data Access and User Permission Management in Experience Cloud Sites

As organizations continue to adopt Salesforce's Experience Cloud, it becomes increasingly important to understand the various tools and techniques available for managing user permissions and data access within the platform. In this article, we will explore the concepts of permission sets and profiles, and provide you with best practices for securing your site and managing data access.
Post image

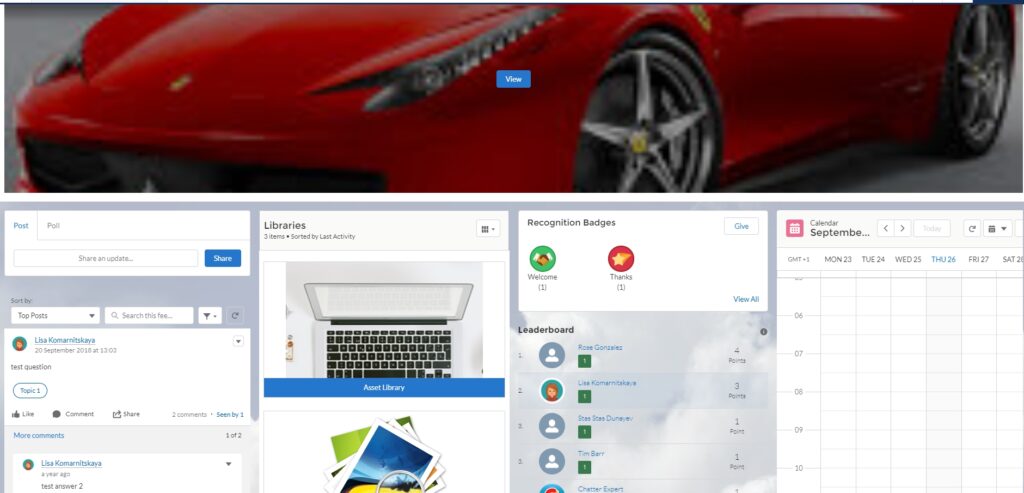
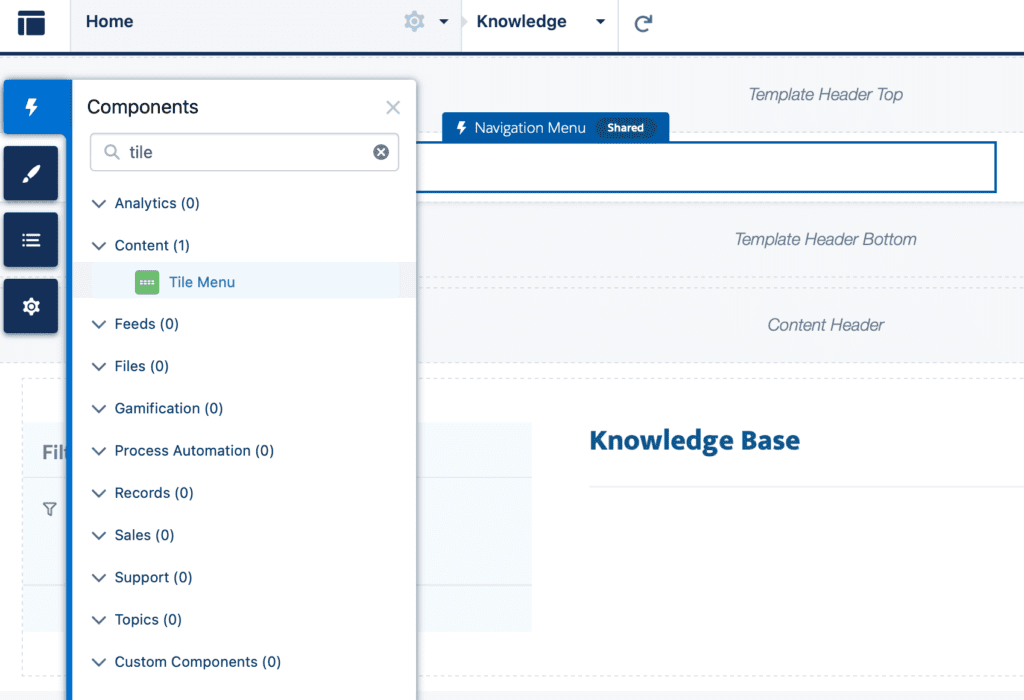
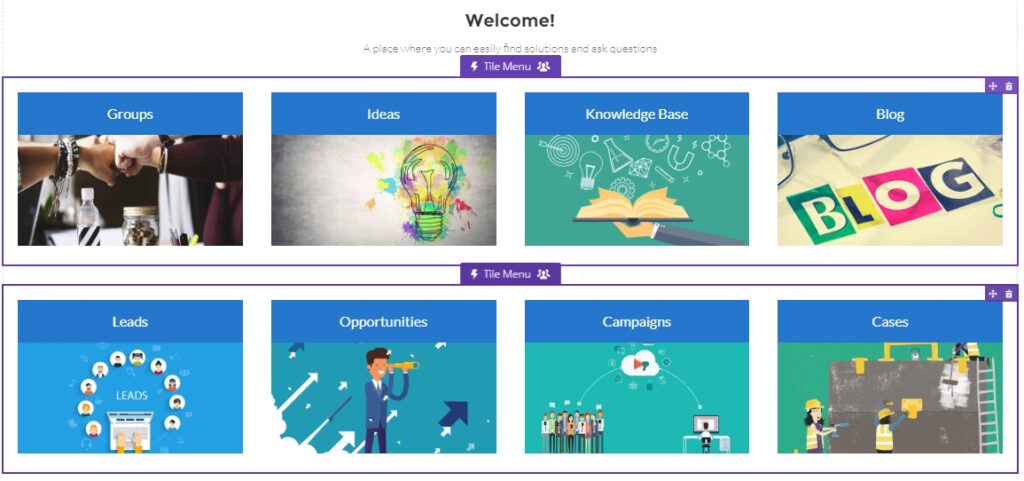
Add a Tile Menu component to the Experience Builder to add a visually bright navigation experience to your community. To add the Tile Menu component to your website page, navigate to the list of components and choose Tile Menu. Drag the component and drop it onto the desired location on your page. Next, select the Tile Menu component to access its property editor. Here, you can customize various properties of the component to suit your requirements.

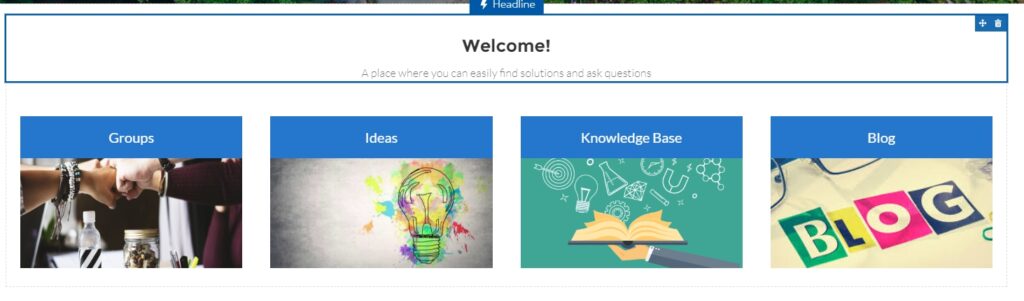
Customers can use the Tile Menu images to access external sites, community pages, records, or global actions. You can set up a maximum of eight image-link combinations per Tile Menu component.

Note!

The Tile Menu component has been updated in the Summer ’20 release, and the latest version is now accessible in Experience Builder. If you are currently using the older version of the component, which is marked as Deprecated in the component properties, it will continue to work. However, if you opt to remove the deprecated component, you will be required to switch to the new version.

Tile Menu images and Tile Menu component

You can get even more, using the Tile Menu component, it is possible to assign a different audience to view different Menu Variations.

assign audience

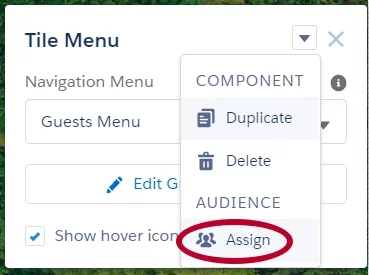
So, you can have a few tile menu components on the same page. Each component will display the particular navigation you choose and will be visible only for a certain audience. Isn’t it nice?

navigation options in Tile menu component

Video Instruction on How to Add a Tile Menu to Your Experience Cloud Site

Looking for Assistance? Get a Helping Hand Here!

Whether you require a powerful event management solution, a comprehensive Salesforce knowledge management tool, or a member management app for Salesforce Experience Cloud, we offer robust solutions for your Experience Cloud needs. If you’re seeking support for implementing Salesforce online communities, we’re also available to provide assistance.

Feel free to reach out at sales@advancedcommunities.com

Meet Advanced Communities at AppExchange.

Subscribe to our Newsletter

Receive regular updates on our latest blog posts, news, and exclusive content!

    Feel the Freedom with Flexible Layout for Salesforce Experience Cloud Communities

    Very soon Flexible Layouts for Community will be not just a dream but become a reality.

    With flexible layouts, you can bring to life all your community designing ideas. And we will help you to learn more about how to do that.

    First of all, to create a page using a flexible layout, the user should have a “Create and Set Up Communities” permission, or be assigned an Experience admin, publisher, or builder contributors role in that community.

    To create a page with a flexible layout, create a New Standard Page in the Community Builder, and choose Flexible Layout.

    To use a flexible layout with an existing page, create a page variation.

    The page includes at least one customizable section. To add more sections, click the “+” sign to add a new section above or below the existing one.

     flexible layout experience cloud

    To customize a section, click on it, and easily change the number of columns per section, change the size of columns within the Column Distribution field. The number in each column represents the grid units the column uses out of 12 possible grids.

    Delete a column by pressing a cross sign under it, but remember deleting a column also deletes all of its content.

    Use Section Style to create a unique design.

    Set the color or upload an image for the section’s background. Select what layout and position fit the image better. Add an overlay color. Modify the section’s height and content width within the sliders.

    Also, you can make the sections span on a full-width screen.  

    Create a new theme layout in Settings – Theme – Configure. Edit properties and deselect Set Max Page Width. Now, assign this layout to an appropriate page.

    Enjoy your fully unique and brand new page with a flexible layout on a full screen!

    AC Knowledge Management Enterprise Product Sheet

    Download the fact sheet now to explore:
    • Key features – See how AC Knowledge Management Enterprise empowers your support team.
    • Benefits – Understand the value it brings to your customers.
    • Real results – See the impact AC Knowledge Management Enterprise can have on your organization.


    Complete the form to get your free copy.


    By submitting this form, you agree to occasionally receive guides, tips, and tricks from AC. You can unsubscribe at any time.  


    AC Ideas Ultimate Product Sheet

    Download the fact sheet now to explore how AC Ideas Ultimate helps you:
    • Capture – Easily collect ideas from customers, team members, and stakeholders.
    • Evaluate – Use built-in tools to score, prioritize, and review ideas based on custom criteria.
    • Implement – Track progress, convert cases into ideas, and turn the best ideas into actionable projects.


    Complete the form to get your free copy.


    By submitting this form, you agree to occasionally receive guides, tips, and tricks from AC. You can unsubscribe at any time.  


    AC MemberSmart Product Sheet

    Download the fact sheet now to explore:
    • Key features – See how AC MemberSmart empowers your team.
    • Benefits – Understand the value it brings to your members.
    • Real results – See the impact AC MemberSmart can have on your organization.


    Complete the form to get your free copy.


    By submitting this form, you agree to occasionally receive guides, tips, and tricks from AC. You can unsubscribe at any time.  


    AC Events Enterprise Product Sheet

    Download the fact sheet now to explore:
    • Key features – Learn how AC Events Enterprise automates registration, marketing, and analytics.
    • Benefits – Learn how it improves attendee satisfaction and helps your event shine.
    • Proven results – See how the app transforms your event outcomes.
     

    Complete the form to get your free copy.


    By submitting this form, you agree to occasionally receive guides, tips, and tricks from AC. You can unsubscribe at any time.  


    WEBINAR

    UNLOCKING MEMBERSHIP SUCCESS
    WITH SALESFORCE
    Strategies from the experts

    Thursday , Sep 12, 2024 at 04:00 PM GMT
    Location: Zoom